

Looking in the mirror at dry, brittle hair can feel incredibly frustrating. But getting back to healthy, resilient strands isn’t about some miracle product—it’s about a smart, consistent plan. We need to stop further damage in its tracks, restore the balance of moisture and protein, and then lean into targeted treatments. Think of it as first aid for your hair, starting with immediate, gentle care.
First Steps to Heal Damaged Dry Hair
If you’re battling frizz, split ends, and a general lack of life in your hair, you’re in good company. This is such a widespread issue that treatments for dry and damaged hair make up a staggering 39.5% of the entire global conditioning market. With nearly 70% of women worldwide reporting dryness from things like sun, pollution, and styling, it’s no surprise that this market is projected to jump from USD 8.0 billion to USD 17.3 billion by 2034.
The good news? Research shows that sticking to the right routine with proven ingredients, like keratin and argan oil, can increase your hair’s moisture retention by up to 82% after just one use. You can find more data on the conditioning treatments market on Market.us.
So, let’s get right to it. Before you run out and buy another “repairing” mask, we need to talk about the single most important concept in hair recovery: the delicate balance between moisture and protein.
The Moisture and Protein Balancing Act
I always tell my clients to think of their hair like a brick wall. The protein (keratin) in your hair acts as the bricks, giving it structure and strength. The moisture is the mortar holding those bricks together, providing crucial elasticity, softness, and flex.
- Too much protein, not enough moisture: Your hair becomes rigid, coarse, and snaps easily. It has that distinct, straw-like feel.
- Too much moisture, not enough protein: Your hair feels mushy, overly soft, and almost too stretchy—like a wet noodle. It has no backbone and is still prone to breakage.
The real secret to repairing damaged hair is finding that perfect equilibrium. Your hair doesn’t just need one or the other; it needs both to become truly resilient again.
Key Takeaway: Healthy hair is all about a dynamic balance. Your mission isn’t just to drench your hair in moisture. It’s to give it the right blend of strength (protein) and flexibility (moisture) depending on what it’s telling you it needs. This is the foundation for any successful, long-term repair plan.
Immediate Triage for Your Strands
When your hair is clearly in crisis mode, the very first thing you must do is stop causing more harm. This means hitting pause on your normal routine and embracing a “less is more” philosophy for a little while. The goal here is simple: create a gentle, healing environment where your hair can recover without the daily stress of heat styling, harsh ingredients, and rough handling.
Below is a quick-reference table outlining the first, most essential steps. Think of this as your emergency action plan to stabilize the situation and prevent things from getting worse.
Immediate Hair Repair Triage Plan
| Action | Why It Works | Frequency |
|---|---|---|
| Halt All Heat Styling | Heat (flat irons, curling wands, blow dryers) is a primary cause of cuticle damage and moisture loss. Stopping gives hair a chance to recover. | Immediately, until hair shows significant improvement. |
| Switch to a Gentle, Sulfate-Free Shampoo | Sulfates are harsh detergents that strip natural oils, leaving damaged hair even drier and more vulnerable. | On every wash day. |
| Handle with Extreme Care | Wet hair is fragile. Avoid aggressive towel drying or brushing. Instead, gently squeeze with a microfiber towel and detangle with a wide-tooth comb from the ends up. | Every time you wash or style your hair. |
| Pause Chemical Treatments | Coloring, bleaching, perming, or relaxing puts immense stress on the hair shaft. Give your hair a break from all chemical processes. | For at least 4-6 weeks to assess recovery. |
This initial triage isn’t a magic fix, but it’s the non-negotiable starting point. It creates the right conditions for the deep conditioning and targeted treatments we’ll cover next to actually be effective. First, we’ll dive into how to diagnose the specific type and level of damage you’re dealing with, so you can move beyond generic advice and start a plan that’s right for your hair.
Diagnosing Your Hair Damage and What It Needs
Before you can even think about fixing damaged hair, you have to play detective. Tossing a bunch of different products at the problem without knowing the root cause is a surefire way to get frustrated and waste money. A couple of simple, at-home tests can tell you exactly what your hair is crying out for, taking all the guesswork out of your repair plan.
To build a routine that actually works, you need to get familiar with two key things: your hair’s elasticity and its porosity. These are the two factors that will tell you whether your hair is thirsty for moisture or desperate for protein.
The Strand Stretch Test for Elasticity
This is the best way to check your hair’s protein-moisture balance. First, make sure your hair is clean, and then gently pull out a single strand. Hold it between your fingers and give it a slow, gentle pull. How it reacts will tell you everything you need to know.
-
Healthy Hair: A healthy strand has some give. It will stretch by about one-third of its length and then bounce right back to its original size, just like a new hair tie. This is the sweet spot—a perfect balance of protein and moisture.
-
Needs Protein: Does the hair feel mushy, almost gummy, and stretch on and on before finally breaking? This is a classic sign of being over-moisturized. It lacks the internal protein structure it needs to be strong.
-
Needs Moisture: If the strand has almost no stretch and snaps immediately, it’s brittle and dry. It has plenty of structure (protein) but no flexibility, making it prone to breaking.
Your hair’s elasticity is a non-negotiable piece of the puzzle. Mushy, overly stretchy hair needs a protein treatment to rebuild its core strength. Hair that snaps in an instant is craving a deep conditioning mask to bring back softness and stop the breakage.
The Float Test for Porosity
Porosity is all about how well your hair can absorb and, more importantly, hold onto moisture. Damaged hair is often high porosity, which means the cuticle (the outer layer) is rough and raised, full of little gaps. It might soak up water like a sponge, but it will lose it just as quickly.
Here’s an easy test. Drop a single, clean strand of hair into a glass of room-temperature water and see what it does.
- Low Porosity: If the strand just floats on top, your hair cuticles are very tightly sealed. This makes it harder for moisture to get in.
- Normal Porosity: If it hangs out in the middle of the glass for a while before sinking, you’ve got a well-balanced porosity level.
- High Porosity: If it sinks to the bottom almost immediately, your cuticles are wide open. Your hair drinks up moisture but can’t hold it, which is why it often feels dry and frizzy.
Knowing your porosity helps you pick the right kind of products. For instance, high-porosity hair does really well with sealing butters, creams, and oils that help lock in all the hydration you give it.
This quick decision tree can help you figure out where to start your triage plan based on how your hair feels right now.
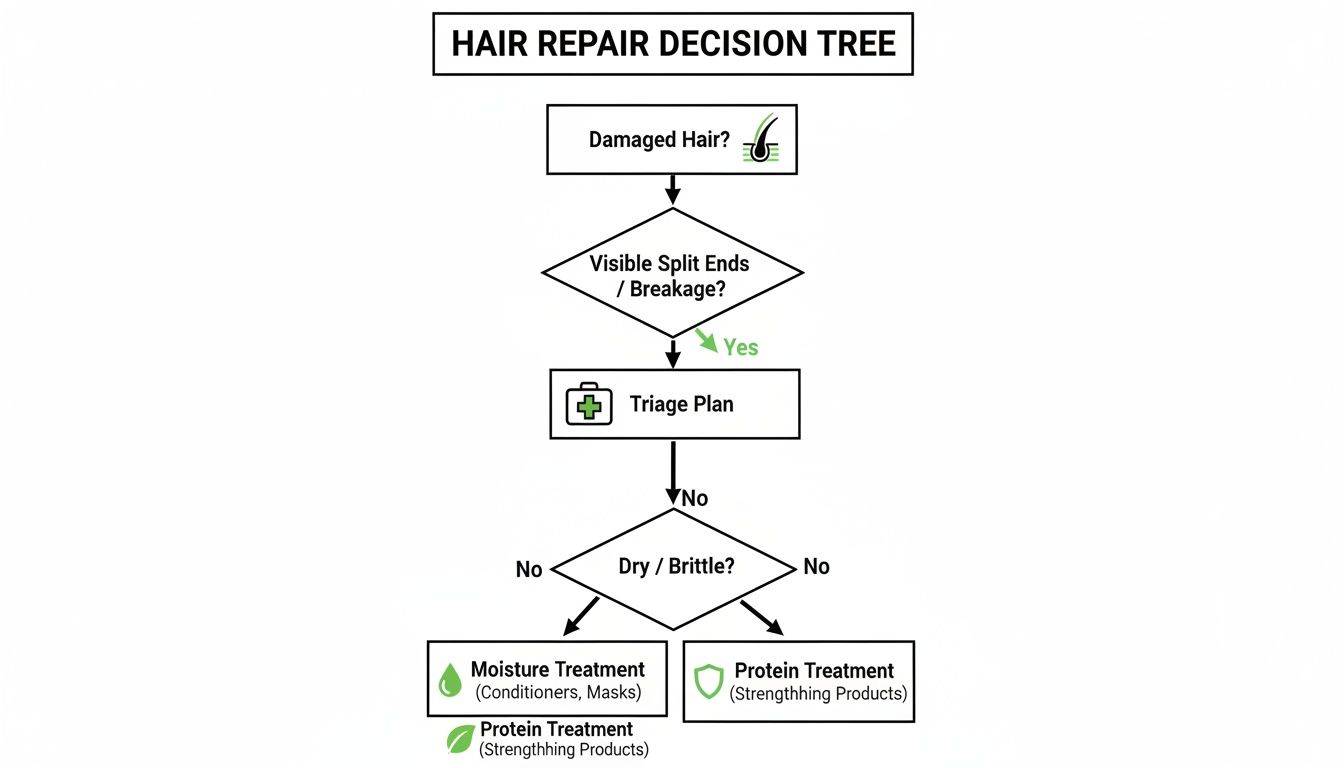
As you can see, the very first step is always getting your hair stabilized before you dive into more specific treatments.
Identifying the Root Cause of Your Damage
Once you know what your hair needs, it’s incredibly helpful to figure out why it got that way. Most damage falls into three main categories, and it’s pretty common to be dealing with a mix of them.
-
Chemical Damage: This is the calling card of bleach, hair color, perms, and relaxers. These processes break down the hair’s internal protein bonds, leaving it weak, fragile, and highly porous. If your hair feels “gummy” or mushy when it’s wet but like straw when it’s dry, you’re looking at chemical damage.
-
Heat Damage: The overuse of flat irons, curling wands, and blow dryers without a good heat protectant is the culprit here. Intense heat can literally create tiny cracks in the hair cuticle and permanently alter the protein structure. This leads to split ends, chronic dryness, and even a loss of your natural curl pattern.
-
Mechanical Damage: This is damage from plain old physical wear and tear. Think aggressive brushing (especially when wet), tight hairstyles that pull, rough towel drying, or even the friction from your cotton pillowcase at night. It often shows up as frayed ends and breakage all over, not just at the tips.
By using these tests to pinpoint exactly what’s going on, you can shift from a vague “hair repair” mission to a targeted, effective strategy. Now you’re ready to build a routine that truly works for your hair’s unique needs.
Your Weekly Ritual for Bringing Hair Back to Life
Real, lasting hair repair isn’t about finding one miracle product. It’s about consistency. Think of it like this: you can’t get strong with a single gym session, and you can’t fix chronic dryness with a one-off mask. The secret is building a simple, repeatable weekly ritual that nourishes your hair over time.
This is where your earlier diagnosis really comes into play. Remember how we talked about the delicate balance between moisture and protein? Your weekly routine is all about alternating between these two to give your hair exactly what it needs for both flexibility and strength.
I tell my clients to think of it as a weekly “menu” for their hair. One week, you’ll serve up a deep-moisture feast. The next, you might need a protein-packed meal to reinforce its structure. This rhythm stops your hair from getting overloaded with one type of ingredient—which can create a whole new set of problems.
Mapping Out Your Moisture and Protein Schedule
For most people starting a repair journey, a simple alternating schedule is the best way to go. You really don’t need to pile on both types of treatments every single week; that’s a fast track to product buildup and weighed-down hair. A simple cycle is much more effective.
Here’s a sample four-week schedule you can adapt:
- Week 1: Go all-in on moisture. Use a deep conditioning mask loaded with ingredients like glycerin, hyaluronic acid, aloe vera, and rich oils.
- Week 2: Time for a gentle protein treatment. If your hair is only moderately damaged, look for lighter formulas with things like silk amino acids or wheat proteins.
- Week 3: Circle back to your moisture mask. Now’s a good time to check in—does your hair feel softer and more pliable than it did in week one?
- Week 4: This can be a rest week or another protein treatment, depending on what your hair is telling you. If it feels strong and resilient, just stick to your regular wash-day routine.
This is just a starting point, not a strict prescription. Always let the feel of your hair be your ultimate guide. If your hair feels a bit stiff or brittle after a protein day, don’t wait! Give it a dose of moisture, even if it’s “off-schedule.”
How to Get the Most Out of Your Treatment
The way you apply your mask matters just as much as what’s in the jar. Just slapping it on and rinsing it out a minute later won’t cut it. To get that deep repair, you need to make sure the product is evenly distributed and has time to actually work its magic.
Always start with clean, damp hair. After shampooing, gently squeeze out the excess water with a microfiber towel or an old t-shirt. If your hair is dripping wet, the treatment will just get diluted and won’t be nearly as effective.
Concentrate the mask from your mid-lengths to your ends—this is where hair is the oldest and usually the most damaged. Then, grab a wide-tooth comb and gently work the product through every strand. This is key for making sure no spot gets missed.
Pro Tip: Don’t let your expensive treatment go to waste. For maximum absorption, wrap your hair in a warm towel or use a thermal heat cap after applying your mask. The gentle heat opens up the hair cuticle, allowing the repairing ingredients to penetrate much more deeply.
That gentle heat can make a huge difference, essentially turning your bathroom into a mini-salon. It’s no surprise that the market for at-home tools like heated deep-conditioning caps is booming—it’s projected to grow from USD 1,088.15 million to USD 1,487 million by 2025. These caps help heat-activated formulas work better, and users have reported seeing 67% fewer split ends and a 75% boost in moisture. It’s a small investment for a serious upgrade to your routine. You can dig into the data on the rise of at-home hair repair tools on CognitiveMarketResearch.com.
The Final Rinse and Finishing Touches
Once your timer goes off (usually after 10-20 minutes), it’s time to rinse. Always use lukewarm or cool water, never hot. A cool rinse is fantastic for sealing the hair cuticle, which locks in all those nutrients you just added and gives your hair a beautiful, glossy finish.
Rinse thoroughly! Leaving even a little bit of a heavy mask behind can weigh your hair down, making it look greasy instead of healthy, especially if your hair is on the finer side.
After rinsing, you can either follow up with a light regular conditioner to seal everything in or move straight to your leave-in conditioner and styling products. While minimizing heat is still the goal, if you need to do a quick touch-up, consider looking into our guide on the best portable hair straighteners for touch-ups, as they can help reduce your hair’s overall exposure to high heat.
Choosing Products That Heal and Not Harm
The hair care aisle can feel like a maze, with every bottle promising to be the magic bullet for your damaged hair. But here’s the reality I’ve learned from years of experience: your bathroom cabinet can either be a first-aid kit or a source of more trouble. The difference comes down to what’s actually in those products.
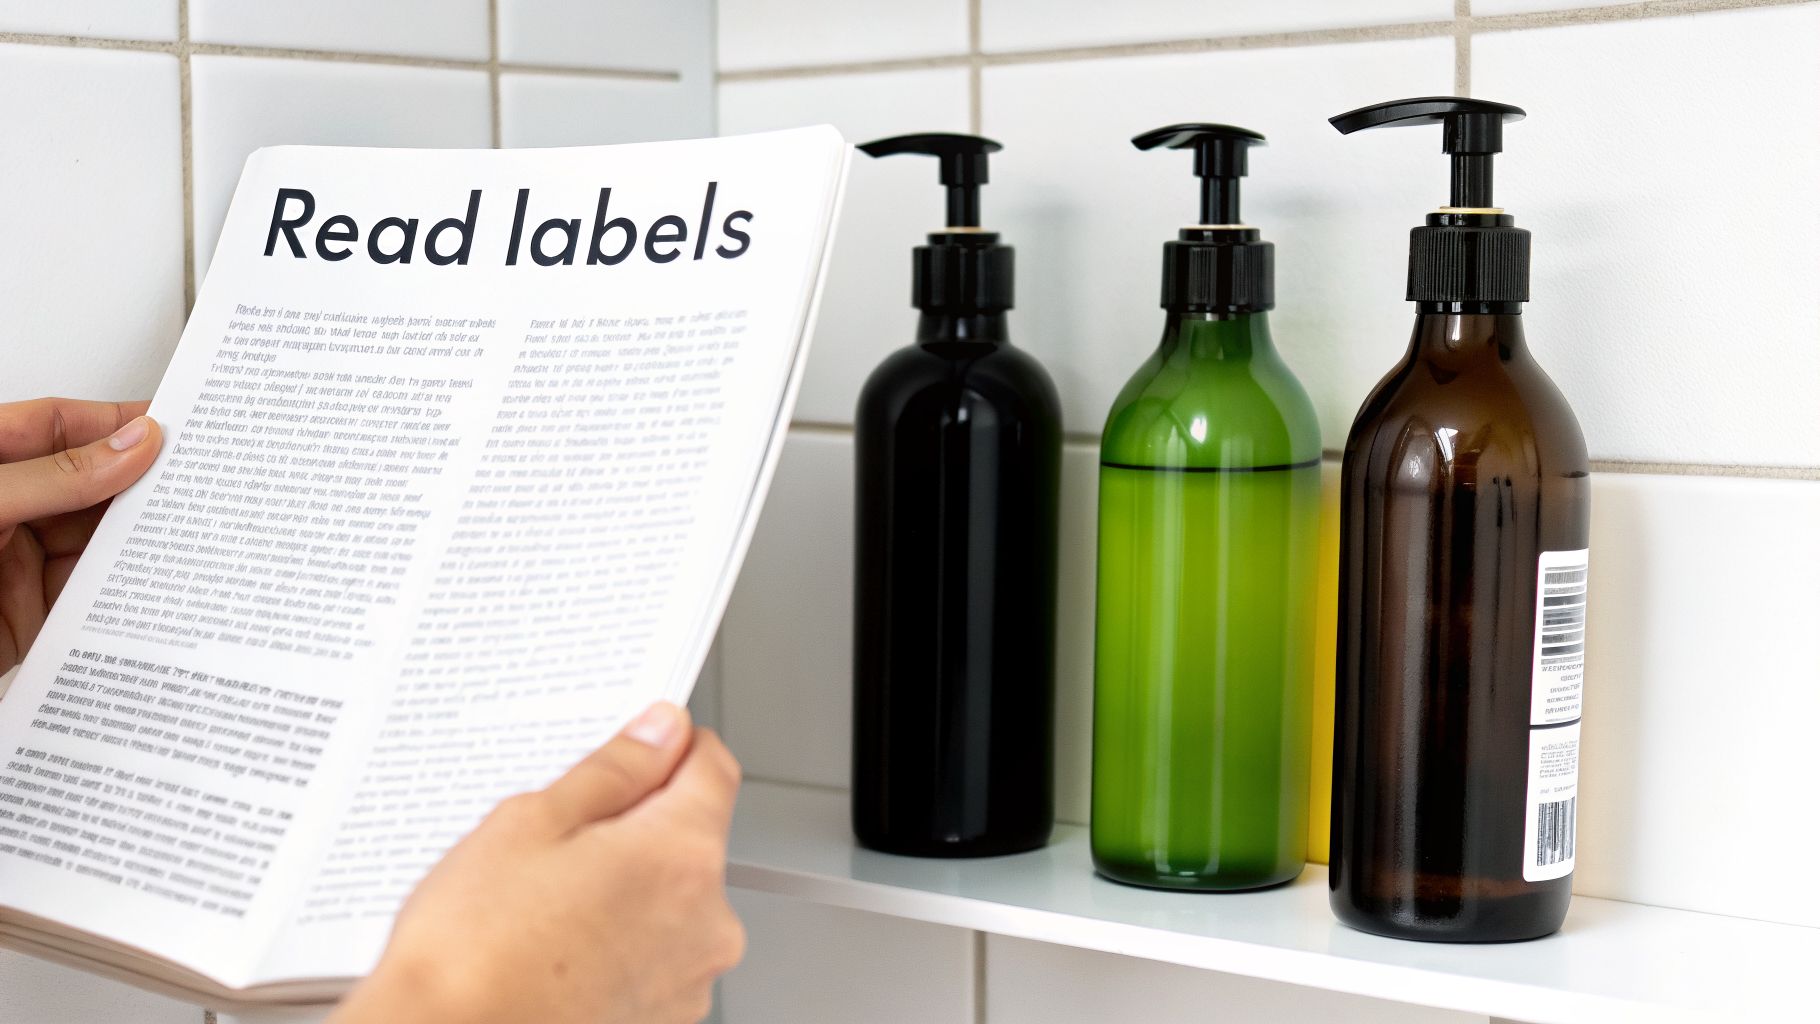
Learning to read an ingredient label is the most powerful tool you have in your hair repair arsenal. You don’t need to be a chemist—you just need to know what to look for and what to run from when your hair is already fragile and thirsty.
Decoding the Ingredient Label
Next time you pick up a shampoo or conditioner, flip it over. The first five ingredients make up the majority of the formula. This is where you want to find the good stuff, not harsh detergents or cheap fillers that do nothing for your hair’s health.
And people are definitely looking for solutions. The hair care industry is expected to explode from USD 87.49 billion to a massive USD 147.23 billion by 2030. What’s driving that? A huge demand for products that fix damage. In fact, specialized repair products are projected to grab a 28.44% revenue share by 2025. You can see more details on the hair care market’s rapid expansion on Marketsandata.com.
This boom means more options, which is great, but it also means a lot more marketing noise. Let’s cut through it by focusing on ingredients that truly heal and hydrate.
The Good Stuff: What to Look For
These are the heroes you want to see high up on the ingredients list. They deliver deep, lasting benefits that go way beyond temporary softness.
-
Ceramides: I like to think of these as the spackle for your hair’s cuticle. They’re lipids that fill in the cracks in a damaged hair shaft, helping it hold onto moisture and rebuilding its protective barrier.
-
Hyaluronic Acid: This isn’t just for skincare anymore. It’s a powerful humectant, which means it pulls moisture from the air right into your hair. A single molecule can hold up to 1,000 times its weight in water, which is a game-changer for parched strands.
-
Amino Acids: These are the literal building blocks of keratin, the protein your hair is made of. Ingredients like silk or wheat amino acids patch up weak spots in the hair’s structure, which improves both strength and elasticity.
-
Glycerin: Another workhorse humectant, glycerin draws moisture into the hair, making it feel instantly softer and less brittle. It’s a foundational ingredient in countless hydrating formulas for a reason.
The Bad Stuff: What to Avoid
On the other hand, some common ingredients can completely sabotage your repair efforts. They strip your hair of its natural oils, creating a vicious cycle of dryness and breakage.
Key Insight: The number one offender? Harsh sulfates. We’ve all been trained to love a rich lather, but ingredients like Sodium Lauryl Sulfate (SLS) and Sodium Laureth Sulfate (SLES) are aggressive detergents. They’re simply too stripping for hair that’s already compromised.
You should also be wary of certain alcohols. If you see denatured alcohol or isopropyl alcohol high on the list, put the bottle down—they are incredibly drying. Don’t get them confused with “fatty” alcohols like cetyl or stearyl alcohol, which are actually good for your hair and help create that soft, conditioned feel.
The Power of Bond-Building Treatments
Beyond your daily conditioner, there’s a category of treatments that has completely changed the game for hair repair: bond-building treatments.
A regular conditioner or mask works mostly on the surface of the hair. Bond-builders are different. They work from the inside out, penetrating deep into the cortex to rebuild the broken disulfide bonds that give hair its core strength. These are the bonds that get destroyed by bleach, color, and high heat.
If your hair is chemically treated or has serious heat damage, a bond-building treatment is non-negotiable. It provides a level of structural repair that a simple moisturizing mask just can’t touch.
Protecting Hair from Heat Styling
Even with the best products, you can’t out-treat constant damage. Heat styling is one of the biggest hurdles to getting your hair healthy. Quitting heat entirely is the dream, but for most of us, it isn’t realistic.
The golden rule is to never, ever apply heat to bare hair. A good heat protectant is your best friend. It creates a thermal shield, minimizing moisture loss and protecting the cuticle from getting fried. Always look for a spray that offers protection up to at least 450°F (232°C).
Learning a few go-to heat-free styles can also make a huge difference. Braid-outs, twist-outs, or even just using old-school foam rollers can give you beautiful texture without the damage. And for those times you absolutely must use a flat iron, make sure you’re using the right tool for your hair type. You can learn more about finding the best hair straightener for curly hair to minimize potential harm. By making smarter product choices and adopting gentler habits, you can finally stop the cycle of damage and start building hair that’s truly strong and resilient.
Tailoring Your Repair Plan to Your Hair’s Needs
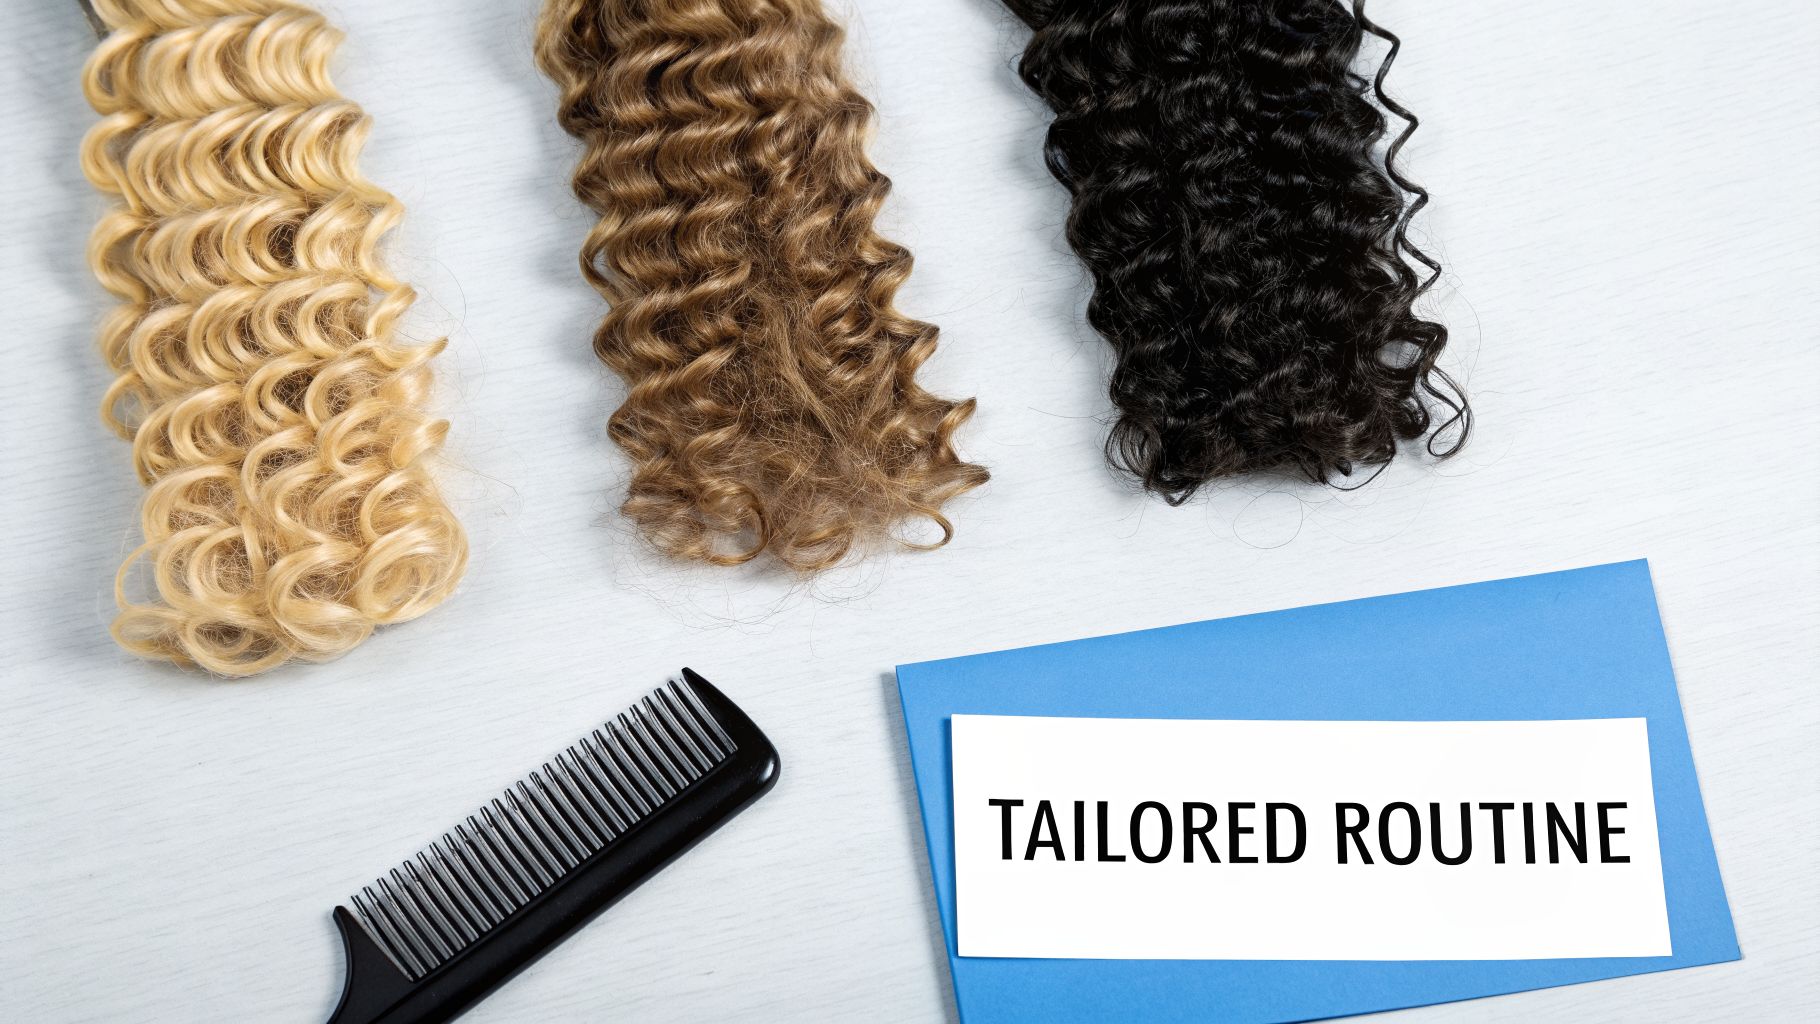
There’s no magic bullet for fixing damaged hair. A routine that revives fine, bleached strands could easily overwhelm thick curls, and what works for unprocessed hair won’t cut it for someone with a standing salon appointment. Real, lasting results come from personalizing your approach.
Getting to know your hair’s specific personality—its texture, porosity, and history—is what separates a temporary fix from a true transformation.
For the Curls and Coils
If you have curly hair, you already know the struggle with dryness is real. The natural oils your scalp produces have a difficult journey navigating all those beautiful twists and turns, often leaving your ends feeling parched. This means moisture isn’t just a goal; it’s everything.
A simple but brilliant method I always recommend is “squish to condish.” After applying conditioner, don’t just rinse it out. Instead, cup water in your hands and squish it upwards into your hair. You’ll literally hear the squelch as your hair drinks it in. This technique encourages the cuticle to absorb more hydration, helping your curls clump together for amazing definition and way less frizz.
Expert Insight: For my curly clients, co-washing (using only conditioner to wash) can be a lifesaver for preserving moisture. I suggest alternating a co-wash with a gentle, sulfate-free shampoo to keep your scalp happy and clean without stripping away those precious natural oils.
For Fine, Damaged Hair
When your hair is fine, the word “moisture” can sound an awful lot like “greasy” and “flat.” The challenge is to deliver serious hydration without the weight. It’s all about choosing lightweight formulas that still pack a hydrating punch.
Your new best friends are powerful humectants like hyaluronic acid and glycerin. These ingredients are like magnets for water, pulling moisture into the hair strand without coating it in heavy oils. Application is key here: always concentrate conditioners and masks on your mid-lengths and ends, staying far away from the roots. This gives your damaged ends the TLC they need while keeping your roots light and full of life.
For Color-Treated Hair
Having hair that’s both damaged and colored means you’re fighting a battle on two fronts. You need to rebuild the hair’s integrity after chemical processing while simultaneously protecting your pricey color from fading. Your biggest enemy? The wrong shampoo.
Make it a non-negotiable rule to only use products labeled “color-safe” or “sulfate-free.” These are formulated to cleanse gently without stripping out your color molecules. Sunscreen for your hair is also a must. UV rays don’t just cause more damage; they accelerate color fade like nothing else. A leave-in conditioner with UV filters is an essential final step. And if you’re heat styling, using tools designed to minimize damage is critical; you can see an example in this review of a Conair hair straightener.
For a Dry, Sensitive Scalp
Often, where there’s hair damage, there’s also a scalp issue. A tight, itchy, flaky scalp is not only uncomfortable but can also hinder healthy hair growth, especially if inflammation is involved. The focus here is to soothe and hydrate without clogging pores.
Steer clear of products loaded with synthetic fragrances, sulfates, and drying alcohols. Instead, look for ingredients known to calm and heal.
- Aloe vera is incredible for its hydrating and anti-inflammatory benefits.
- Colloidal oatmeal is a classic for calming down itchiness and irritation.
- Tea tree oil, when properly diluted in a carrier oil, offers gentle antiseptic properties.
A pre-shampoo scalp massage with a lightweight oil can work wonders. It helps lift flakes, stimulates blood flow to the follicles, and creates a much healthier foundation for the hair you want to grow.
Because every head of hair is different, I’ve put together a quick-glance table to help you zero in on what your specific hair type needs most.
Repair Strategies for Different Hair Types
| Hair Type | Top Priority | Key Ingredients to Look For | Technique to Try |
|---|---|---|---|
| Curly/Coily | Moisture & Definition | Shea butter, glycerin, jojoba oil, aloe vera | The “LOC” or “LCO” method (Leave-in, Oil, Cream) to seal in hydration. |
| Fine/Thin | Repair without Weight | Hydrolyzed proteins (keratin, silk), hyaluronic acid, panthenol | Applying treatments to ends only; using lightweight sprays and serums. |
| Color-Treated | Color Protection & Bond Repair | Amodimethicone, bis-aminopropyl diglycol dimaleate, antioxidants | Weekly glossing treatments at home to refresh color and add shine. |
| Sensitive Scalp | Soothe & Reduce Inflammation | Colloidal oatmeal, chamomile, niacinamide, zinc | Pre-shampoo scalp oiling with calming oils like jojoba or calendula. |
Ultimately, listening to your hair and scalp is the most important step. Pay attention to how it reacts to different products and techniques, and don’t be afraid to adjust your routine as its needs change.
You’ve done the hard work of nursing your hair back to health. Congratulations! But the journey doesn’t stop there. Now, the goal shifts from an all-out rescue mission to smart, consistent maintenance to keep that healthy, beautiful hair for good.
Think of it like this: you’ve repaired the foundation, and now you’re building habits to protect your investment. The good news is that these habits are often small, simple changes that make a huge difference over time.
One of the easiest, most overlooked changes you can make happens while you sleep. That standard cotton pillowcase you’ve been using? It creates friction, grabbing and roughing up your hair’s cuticle all night long. The result is often frizz and unnecessary breakage. Making the switch to a silk or satin pillowcase lets your hair glide smoothly, preventing that mechanical damage before it even starts.
The Non-Negotiable Haircut
I know, I know. After working so hard to grow your hair, the last thing you want is to cut it. But we need to talk about regular trims. Think of a split end like a run in a pair of stockings—if you don’t stop it, it will just keep traveling up the hair shaft, causing even more damage and forcing you to cut off more length later.
No serum or mask can truly glue a split end back together. A trim is the only real fix.
- For general upkeep: A light trim every 10-12 weeks is perfect for maintaining healthy ends.
- If you spot fresh splits: Don’t wait for your next scheduled appointment. Ask your stylist for a “dusting,” which just skims off less than a quarter-inch to remove the damage without sacrificing your hard-earned length.
Don’t see haircuts as losing length. See them as a preventative strategy. A regular trim is your absolute best defense against the kind of widespread breakage that leads to a major, unwanted chop.
When to See a Professional
Sometimes, no matter how perfect your routine is, the problem lies deeper than the products you’re using. It’s so important to recognize when it’s time to call in an expert, like a dermatologist or a certified trichologist (a specialist in hair and scalp health).
Your home care routine can only do so much. You should book an appointment if you’re experiencing:
- Sudden, significant hair loss that feels out of the ordinary for you.
- A persistently itchy, sore, or inflamed scalp that just won’t clear up.
- Noticeable thinning or breakage that continues even though you’re being gentle with your hair.
These kinds of symptoms can signal underlying health conditions, nutritional gaps, or hormonal changes that topical products can’t fix. A professional can perform the right tests to give you a real diagnosis and recommend medical-grade treatments or specific lifestyle changes. Knowing when to ask for help is the final piece of the puzzle in protecting your hair’s long-term health and shine.
Frequently Asked Questions About Damaged Hair
As you get started on your hair repair plan, some questions will inevitably pop up. It’s completely normal. Let’s clear up a few of the most common things I hear from people who are trying to nurse their hair back to health.
Can You Really Repair Split Ends?
I have to give you the honest answer here: no. Once a hair strand splits, there isn’t a product on the market that can truly glue it back together for good. Sure, serums and oils can do a great job of temporarily smoothing down the cuticle and making those splits less obvious, but it’s a cosmetic fix.
The only real solution is a haircut. Getting regular trims—or even a light “dusting”—is the only way to stop that split from traveling further up the hair shaft, which causes even more damage. Think of it as essential maintenance that actually saves your length in the long run.
How Long Until I See Real Results?
You’ll probably notice a difference in softness and manageability right after your first deep conditioning treatment. That immediate gratification is great, but lasting, structural change takes time and commitment.
Realistically, you should start seeing a real improvement in texture and a lot less breakage within 4 to 6 weeks of sticking to your routine. For severely damaged hair, a full transformation can take a few months, so be patient with the process.
Moisture or Protein: How Do I Know What My Hair Needs?
This is probably the most important question to figure out, and it all comes down to learning how to “read” your hair. Getting the balance right is everything. Here’s a simple way to diagnose it:
-
Your hair needs MOISTURE if: It feels dry, rough, and brittle. If a strand snaps almost instantly when you gently pull it, that’s a classic sign. It also tends to look dull and gets tangled easily.
-
Your hair needs PROTEIN if: It feels overly soft, almost mushy or gummy, especially when it’s wet. Another big tell is if it stretches and stretches without bouncing back before it finally breaks. This hair type often lacks body and just won’t hold a curl or style.
Paying attention to how your hair feels is the key. Once you learn what it’s asking for, you’re well on your way to building that strong, resilient hair you’re after.